
Have you ever wondered if a smart crypto mining rig could boost your earnings? Imagine a setup with strong graphics cards and special mining chips that work together to handle digital money tasks. In this post, I'll break down the key parts of a mining rig and explain how putting them together the right way might help you earn more.
I'll share clear tips and simple steps so that even if you're just starting out, you can join in and feel the difference in your earnings. Trust me, a solid setup could really change the game for your crypto journey.
Crypto Mining Rig Fundamentals: Core Principles and Components
Crypto mining rigs are custom computers built to check digital currency transactions and even produce new coins. Inside these rigs, the two main hardware types are GPUs (graphics processing units) and ASIC miners (computers designed for one specific task). For example, a GPU like the AMD RX 580 can achieve about 20 mega-hashes per second, while a consumer ASIC such as the Bitmain Antminer S21e XP Hyd can hit around 860 tera-hashes per second using 11,180 watts with an efficiency of roughly 13 joules per tera-hash.
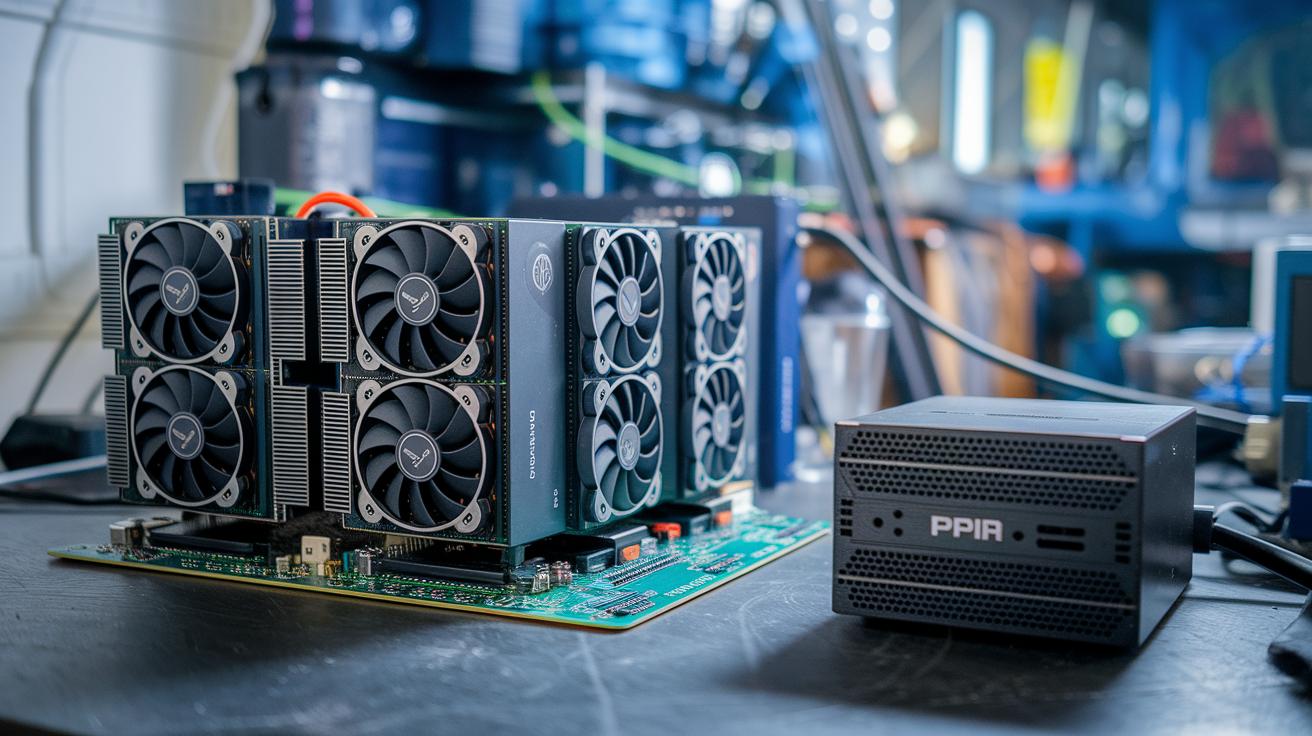
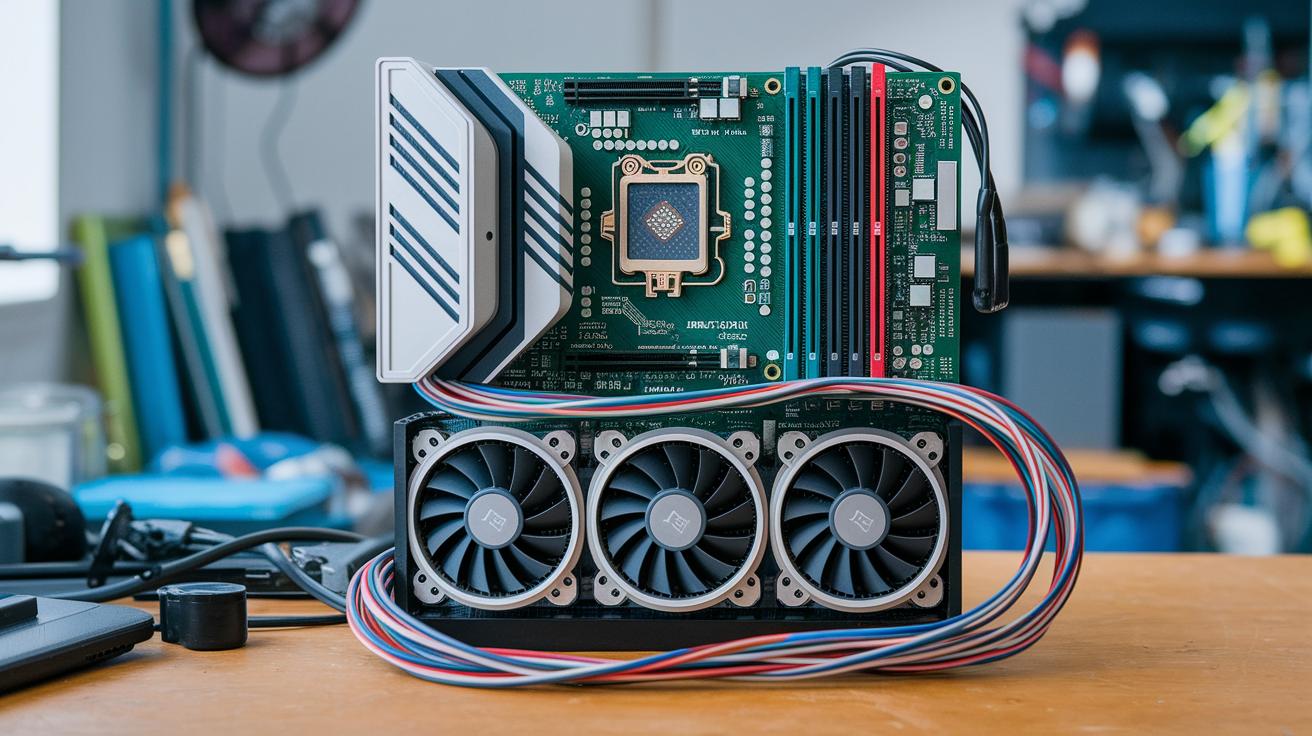
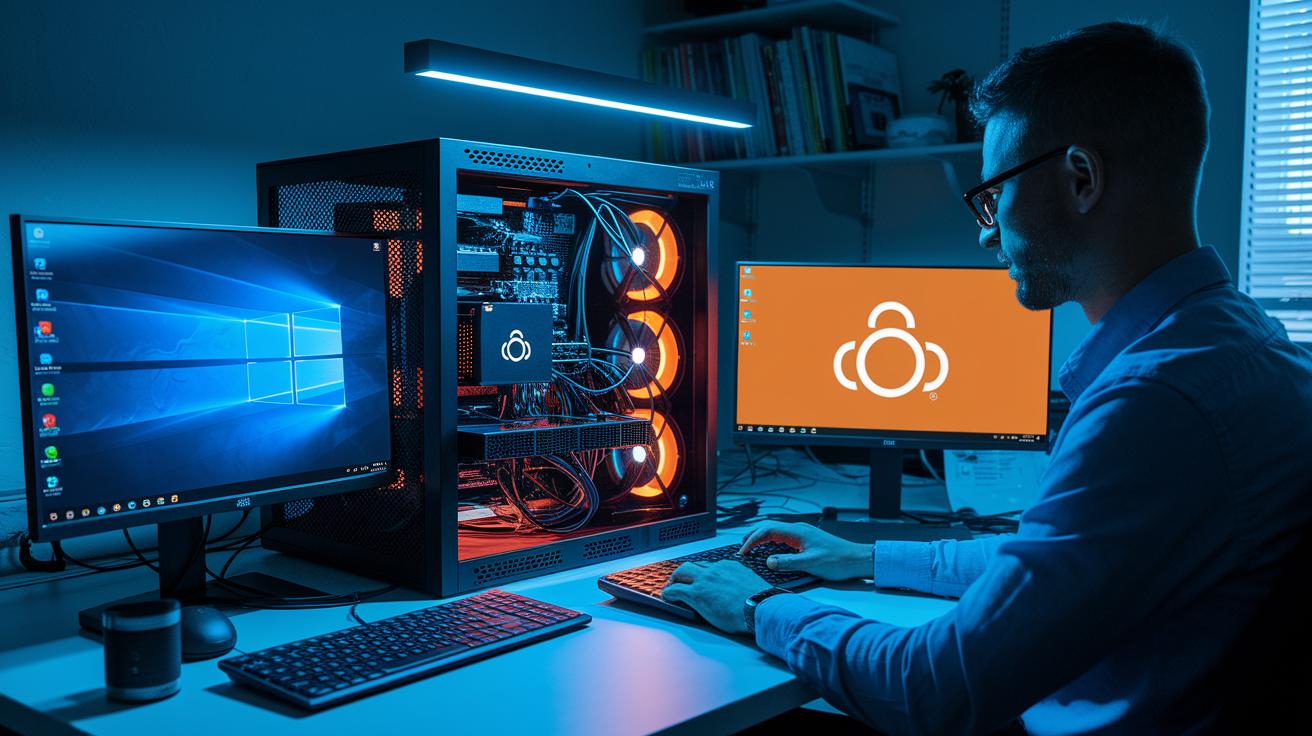
Motherboards with several PCIe slots are essential because they let you add more GPUs to your rig. Imagine using a board that supports three GPUs and adding PCIe risers to improve connections and help cool your hardware by boosting airflow. The design of your mining rig matters a lot since these machines often draw heavy power and can be quite noisy, usually ranging from 50 to 85 decibels.
Mining at home comes with its challenges, like high electricity bills and stiff competition. That’s why many miners join pools to increase their chances of earning rewards. By carefully choosing key parts and understanding how each performs, you can build a solid mining setup that runs efficiently and may boost your earnings over time. Balancing the initial hardware cost with ongoing electricity expenses is vital for long-term success.
Selecting Hardware for Your Crypto Mining Rig
When you're building a crypto mining rig, it's smart to start by looking at the main parts you need. For example, a GPU like the RX 580 can give you about 20 MH/s of power using around 120 watts. It costs between $300 and $700, which makes it a good choice if you want a multi-GPU setup that works with a regular motherboard.
On the other hand, ASIC miners, such as the Antminer S21e XP Hyd, are built for heavy-duty work. They can reach a huge 860 TH/s while using 11,180 watts. But remember, they cost more than $17,000, so they are mostly for large-scale mining where top efficiency matters.
If you’re into CPU mining, say for coins like XMR, what really counts is the number of cores. Budget CPUs might only offer between 500 H/s and 3 kH/s. They don’t pack the same punch as GPUs or ASIC miners, but they can be a smart, cost-effective part of your overall plan if you need more flexibility.
Don't forget about risers and motherboards. A regular motherboard with three PCIe slots will fit three GPUs, but if you’re planning a bigger operation, look for boards that hold up to 6 or 8 GPUs. It’s all about balancing performance, power use, and your budget.
| Component | Hashrate | Power Consumption | Efficiency | Price Range |
|---|---|---|---|---|
| GPU (e.g., RX 580) | ~20 MH/s | ~120 W | Moderate | $300–$700 |
| ASIC (e.g., Antminer S21e XP Hyd) | 860 TH/s | 11,180 W | High | Over $17,000 |
| CPU (for XMR mining) | 500 H/s to 3 kH/s | Varies | Basic | Budget-friendly |
Power Consumption and Cooling Strategies for Crypto Mining Rigs
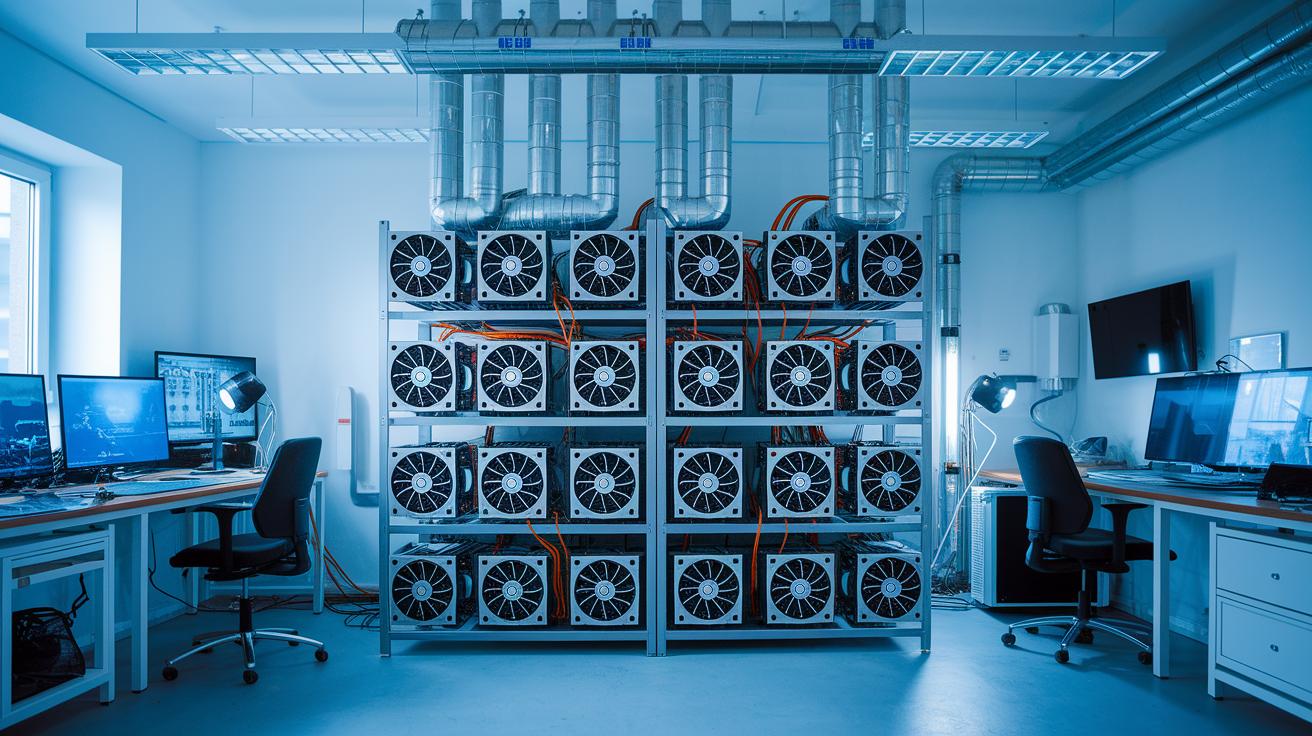
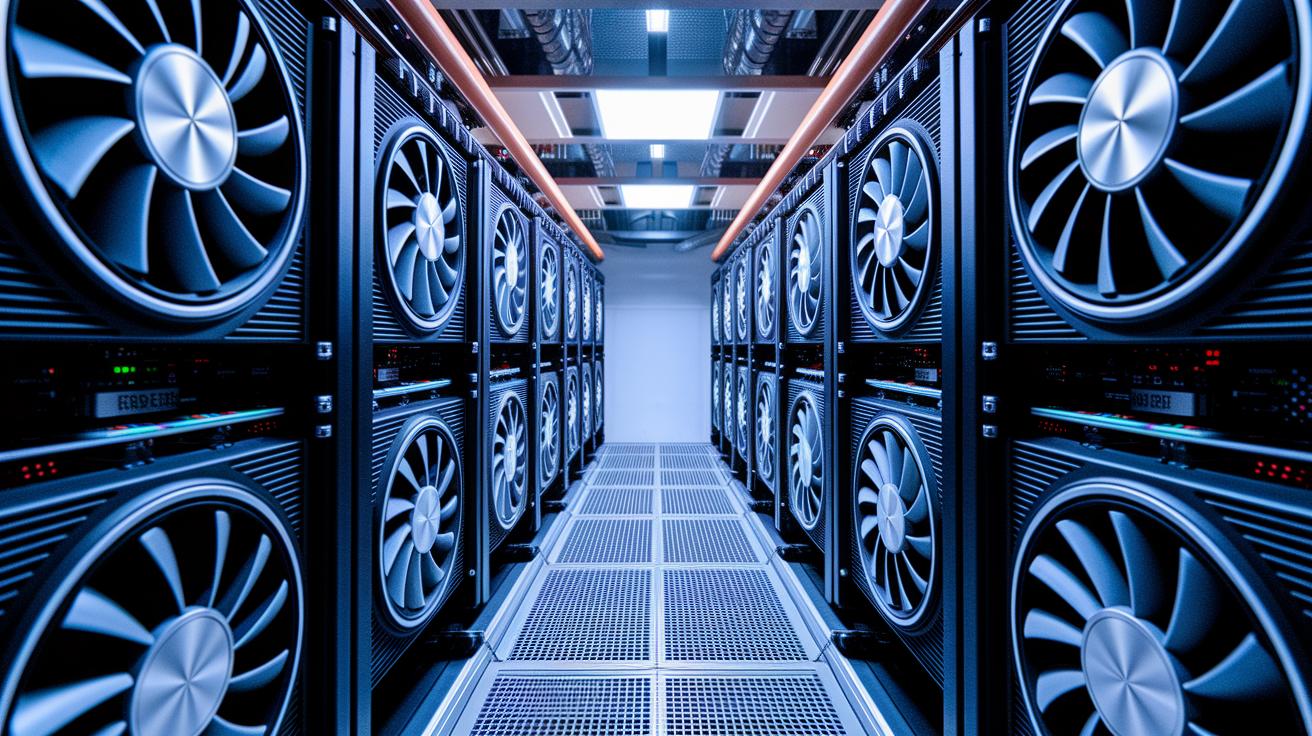
Crypto mining rigs can eat up a lot of power. For example, some Bitcoin machines like the Antminer S21 XP+ use about 5,500 watts, and others can use as much as 11,180 watts. That’s why keeping them cool isn’t just a smart move, it’s absolutely necessary. Altcoin rigs vary too. Take the VolcMiner D1 Hydro, which draws roughly 7,600 watts at 0.253 J/MH, or the IceRiver AE1 Lite, which only needs around 500 watts with an efficiency of about 1.67 J/MH.
Cooling your equipment is just as important as managing the power. Many miners love using high-CFM exhaust fans because they help push hot air away from the rigs. Think of your mining setup like a sports car, you wouldn’t let it overheat, would you? Keeping the room temperature below 25 °C makes a big difference, too. Giving each rig enough space so that every component can "breathe" really helps lower overall temperatures. And if noise is an issue (since these machines can run from 35 dB up to 85 dB), hydro cooling is a solid choice. For example, the Auradine Teraflux AH3880 uses hydro cooling to reduce noise to about 35 dB.
In the end, using smart thermal design with a thoughtful layout and active cooling strategies not only keeps your system running smoothly but also helps your hardware last longer and can even boost your profits.
Step-by-Step Crypto Mining Rig Assembly Guide
Start by collecting all the parts you need. This might take around a week so you’re ready when it's time to put everything together in just a few hours. Every piece is important, from the motherboard to the GPUs and power cables, so double-check them all to set yourself up for smooth mining.
-
Unbox everything and inspect the parts
Take a good look at each item as you unbox them. Make sure nothing is missing or broken, so you won’t run into surprises later. -
Mount the motherboard on the rig frame
Secure the motherboard snugly in the frame. This helps prevent any movement or loose connections down the line. -
Install the CPU, RAM, and storage
Carefully add the CPU along with its cooling system, the memory, and the SSD. Think of this setup as the brain of your mining rig, it’s critical for proper control. -
Connect the risers to the PCIe slots
Place each riser into its slot; these not only link your GPUs to the motherboard but also help keep everything cool by allowing better air flow. -
Secure the GPUs to the frame and risers
Attach your GPUs firmly, making sure they line up with the risers. If you’re using six GPUs, check that each one is fastened well so the rig stays stable. -
Plug in the power cables for GPUs and the motherboard
Use the PSU’s SATA-to-Molex cables. Remember, for six GPUs you’ll need six extra SATA connections plus another one for the SSD. -
Set up cooling fans and tidy up cables
Position the fans to boost airflow and keep the temperature down. Organize your cables neatly so nothing blocks the air or gets disconnected by accident. -
Double-check all connections and power up
Before you turn everything on, review each connection to make sure all parts are in place and ready to work. -
Enter the BIOS to adjust settings
In the BIOS, enable Above 4G Decoding and set your fan curves. These tweaks help the rig run efficiently and recognize all hardware components. -
Install the operating system, drivers, and mining software
Choose Windows if you want ease of use or Ubuntu for extra flexibility. Then install the necessary drivers and set up your mining software to finish the process.
Configuring Software and Managing Your Crypto Mining Rig
When you manage your mining rig, the right software setup can really make a difference. If you want something simple that installs drivers quickly, Windows is a great pick. On the other hand, Ubuntu offers more options and won’t cost you extra. For example, if you want an easy installation process, you might set up your drivers in just about 15 minutes with Windows.
Once you’ve got your operating system sorted, the next step is to set up your mining software. Start by picking a mining pool and entering your wallet address, kind of like setting up a bank transfer. You add your account details and even give your miner a unique name, like “Rig_Team_A,” to keep things organized.
Be sure to update your firmware, too. Many ASIC miners need these updates via a web interface, so it’s smart to check that the firmware matches your hardware model. Tools like Hive OS or built-in web interfaces can help you keep an eye on your rig. They work best when you have a static IP and secure access methods, like SSH or VPN.
And don’t forget about security. Turn on your firewall, install antivirus software, and limit remote access so only trusted devices can connect. This careful setup helps protect your crypto mining operations from unwanted intrusions while you keep everything running smoothly.
Calculating Profitability and ROI for Your Crypto Mining Rig

When you start figuring out how much your rig can earn, the first thing to consider is your upfront investment. GPU rigs usually run between $1,000 and $5,000, while ASIC rigs are often priced from $3,000 to $17,000. Then, think about how much energy your rig uses. For example, a 10 kW rig running all day uses about 240 kWh daily, and at $0.10 per kWh, that tells you what your daily power bill might be.
Profit calculators factor in things like hashrate (the speed at which your rig mines), power use, pool fees, and current coin prices. Imagine using an IceRiver AE1 Lite that costs $1,899, delivers 300 MH/s, and runs at 500 watts. At $0.10 per kWh, you might hit break-even in just a few months. These tools let you project revenue over 6 to 12 months, giving you a clearer picture of potential returns.
Don’t forget to add in extra costs such as taxes, maintenance, and even occasional downtime. Using a good revenue calculator can help you forecast your return on investment, letting you compare different hardware setups. This way, budgeting becomes simpler, and you can better plan for when your mining rig might start earning a net profit.
Taking a close look at both your initial spend and your ongoing expenses is key. When you know your numbers well, you can adjust your strategy if energy costs or coin prices change, helping you keep track of your overall earnings.
Maintenance, Troubleshooting, and Upgrades for Crypto Mining Rigs
Keeping your mining rig in top shape is a lot like looking after a reliable car. Every couple of weeks, take a moment to dust it off and check the fans and heatsinks. This regular clean-up keeps your rig running cool and helps avoid any slowdowns from overheating.
Your rig is smart, too. It uses little lights and error codes on ASICs and GPUs to signal when something’s off, whether it’s a problem with the power supply, a faulty hash board, or a heat issue. Spotting these early signs means you can fix issues before they really impact your mining.
It really pays to be prepared with spare parts. Keeping extra cooling fans, risers, connectors, and power supplies on hand can save you a lot of trouble later on. A few careful steps now can prevent a big headache tomorrow.
| Tip | What to Do |
|---|---|
| Cooling Fans & Risers | Reserve extra parts for faster fixes |
| Connectors & PSUs | Keep spares to minimize downtime |
| Diagnostic Alerts | Use LED signals and codes to pinpoint issues |
Upgrading your equipment keeps your mining setup competitive. Swapping old GPUs for newer, faster ones or tweaking your BIOS settings can boost performance noticeably. Just be sure any new parts fit well with your motherboard's BIOS.
By cleaning your system regularly, addressing alerts quickly, and planning for upgrades, you’ll keep your rig operating efficiently and your mining rewards coming in steadily.
Final Words
In the action, we broke down how to assemble a powerhouse crypto mining rig. We covered the basics of selecting GPUs, ASICs, and CPUs, setting up cooling and power systems, and walking through each assembly step. The guide also looked at software configuration, remote control, and profitability checks to help simplify decision-making. With these insights, every step toward managing your digital portfolio becomes clearer. Embrace the process and enjoy the positive energy of building a secure and efficient mining setup.
FAQ
What is a crypto mining rig?
The crypto mining rig is a computer setup that uses GPUs or ASIC hardware to solve complex problems on a blockchain, resulting in digital coin rewards.
Where can I purchase a crypto mining rig and what price range should I expect?
The crypto mining rig for sale comes in various types; beginner GPU rigs may cost around $1,000 to $5,000, while ASIC models can cost over $3,000 depending on performance.
Which crypto mining rig is ideal for beginners?
The crypto mining rig for beginners is typically GPU-based, offering a simpler setup and manageable costs, making it a friendly entry point into digital coin mining.
What is the best crypto mining rig available?
The best crypto mining rig depends on your needs; GPU rigs work well for newcomers, whereas ASIC miners provide high performance for those with deeper technical expertise.
How do crypto mining rigs generate profit and how can I calculate it?
The crypto mining rig profitability hinges on factors like processing power and electricity cost; using a mining calculator helps you estimate returns by inputting details like hashrate and expenses.
What is a crypto mining calculator?
The crypto mining calculator is a tool that computes potential earnings by analyzing your rig’s hashrate, power consumption, and relevant fees, guiding your investment decisions.
What is Bitcoin mining software and how does it function?
The Bitcoin mining software connects your rig to a mining pool, manages hardware operations, and helps configure your wallet and settings for an efficient mining process.
What exactly is an ASIC miner?
The ASIC miner is a device designed specifically for crypto mining, offering superior processing power and efficiency compared to GPUs for targeted coin algorithms.
How long does it take to mine $1 of Bitcoin, and are crypto mining rigs legal?
The time to mine $1 of Bitcoin varies with rig efficiency and energy costs, while crypto mining rigs are legal in most areas, subject to local regulations and compliance.